DIY Vape Flavors: How to Create Your Own Unique E-Liquid
Tired of paying premium prices for e-liquid or searching endlessly for that perfect flavor? The world of DIY vape flavors offers a solution. It puts you in complete control, allowing you to customize everything from the flavor profile and nicotine strength to the vapor production. Making your own e-liquid is not only cost-effective but also a highly rewarding hobby.
This guide will walk you through everything you need to know to get started. We’ll cover the essential ingredients, the necessary equipment, crucial safety precautions, and some starter recipes to kickstart your flavor crafting journey.
Why Make Your Own E-Liquid?
The appeal of DIY e-juice goes beyond just saving money. It’s about taking control of your vaping experience.
- Total Customization: You can create flavor combinations that don’t exist on the market. Want a strawberry-basil blend or a spicy chocolate mix? You can make it. You also have full control over the nicotine level and the PG/VG ratio for your ideal throat hit and cloud size.
- Cost Savings: Once you have the initial equipment, the cost per bottle of DIY e-liquid is a fraction of what you would pay for commercial brands. You can make premium-quality juice for pennies on the dollar.
- Ingredient Transparency: You know exactly what is going into your vape. This allows you to avoid certain ingredients you may be sensitive to and ensures you are using high-quality components.
The Essential Ingredients for DIY E-Liquid
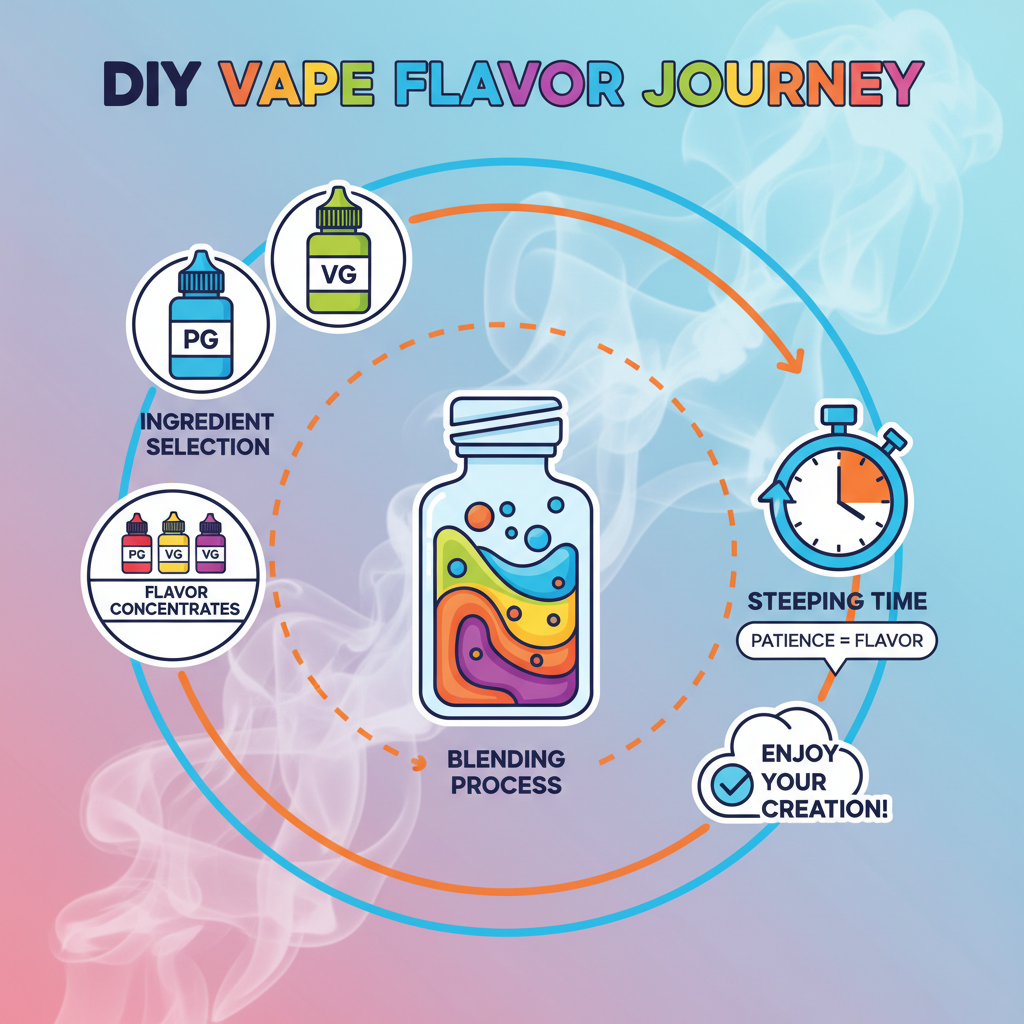
Creating vape juice involves mixing four key components. Sourcing high-quality ingredients is crucial for both safety and taste.
- Propylene Glycol (PG): This is a thin, colorless liquid that serves as the primary carrier for flavor and nicotine. It provides the “throat hit” that many vapers enjoy. Look for USP/food-grade PG.
- Vegetable Glycerin (VG): A thicker, slightly sweet liquid that is responsible for producing dense vapor clouds. Like PG, you should only use USP/food-grade VG.
- Flavoring Concentrates: These are food-grade flavorings that determine the taste of your e-liquid. They come in thousands of varieties, from simple fruits to complex dessert profiles. Always use concentrates specifically designed for inhalation, not standard food extracts.
- Nicotine: This is an optional ingredient. It’s sold as a concentrated liquid, typically suspended in a PG or VG base. Nicotine is highly toxic in its concentrated form and must be handled with extreme care.
Tools of the Trade: What You’ll Need
You don’t need a full chemistry lab, but having the right tools will make the process safer, more accurate, and more enjoyable.
- Digital Scale: This is the most important tool for accurate and consistent mixing. Measuring by weight is far more precise than measuring by volume. A scale with 0.01g precision is ideal.
- Gloves: Nitrile or latex gloves are essential, especially when handling nicotine.
- Syringes or Pipettes: If you choose to mix by volume, you’ll need syringes with blunt-tip needles for precise measurements.
- Empty E-Liquid Bottles: Plastic or glass bottles (usually 15ml to 120ml) are needed for mixing and storing your creations.
- Labels: Always label your bottles with the flavor name, creation date, PG/VG ratio, and nicotine strength.
Safety First: Handling Nicotine and Ingredients
Safety cannot be overstated when it comes to DIY e-liquid. Nicotine is a poison and can be absorbed through the skin.
- Wear Gloves: Always wear nitrile gloves when handling concentrated nicotine.
- Use Eye Protection: Goggles or safety glasses can protect you from accidental splashes.
- Work in a Clean Area: Keep your mixing area clean and away from children and pets.
- Store Nicotine Safely: Store your concentrated nicotine in a locked, dark, and cold place like a freezer, clearly labeled as poison.
- Start Low: When experimenting with new flavors, it’s wise to make small test batches first. This saves ingredients if you create a flavor you don’t like.
A Step-by-Step Guide to Mixing Your First E-Liquid
Let’s walk through the process of creating a 30ml bottle of e-liquid using the weight method with a digital scale. We’ll use an online e-liquid calculator, which is highly recommended for beginners.
Step 1: Use an E-Liquid Calculator
Go to a popular online e-liquid calculator (like e-liquid-recipes.com or ELR). Enter the following parameters:
- Bottle size (e.g., 30ml)
- Desired nicotine strength (e.g., 3mg/ml)
- PG/VG ratio of your nicotine base (e.g., 100mg/ml in PG)
- Desired final PG/VG ratio (e.g., 30% PG / 70% VG)
- Your flavor percentages (e.g., Strawberry 5%, Cream 3%)
The calculator will generate a recipe telling you the exact weight of each ingredient you need to add.
Step 2: Prepare Your Station
Put on your gloves. Place your empty 30ml bottle on the digital scale and tare it (zero it out).
Step 3: Add Your Ingredients
Following the weights from the calculator, add each ingredient one by one, taring the scale after each addition.
- Add the specified weight of nicotine.
- Add the weight for each flavoring concentrate.
- Add the weight for the PG.
- Finally, add the weight for the VG.
Step 4: Mix and Shake
Once all ingredients are in the bottle, screw the cap on tightly. Shake the bottle vigorously for a minute or two to ensure all the components are thoroughly mixed.
Step 5: Label Your Bottle
Label the bottle with the flavor name, date, nicotine strength, and PG/VG ratio. This is crucial for keeping track of your creations.
Step 6: Steep Your E-Liquid
Steeping is the process of letting your e-liquid age to allow the flavors to blend and mature. Simple fruit flavors may be ready to vape right away (a “shake and vape”), but dessert and cream-based flavors often need one to four weeks to develop their full profile. Store the bottle in a cool, dark place and give it a shake every few days.
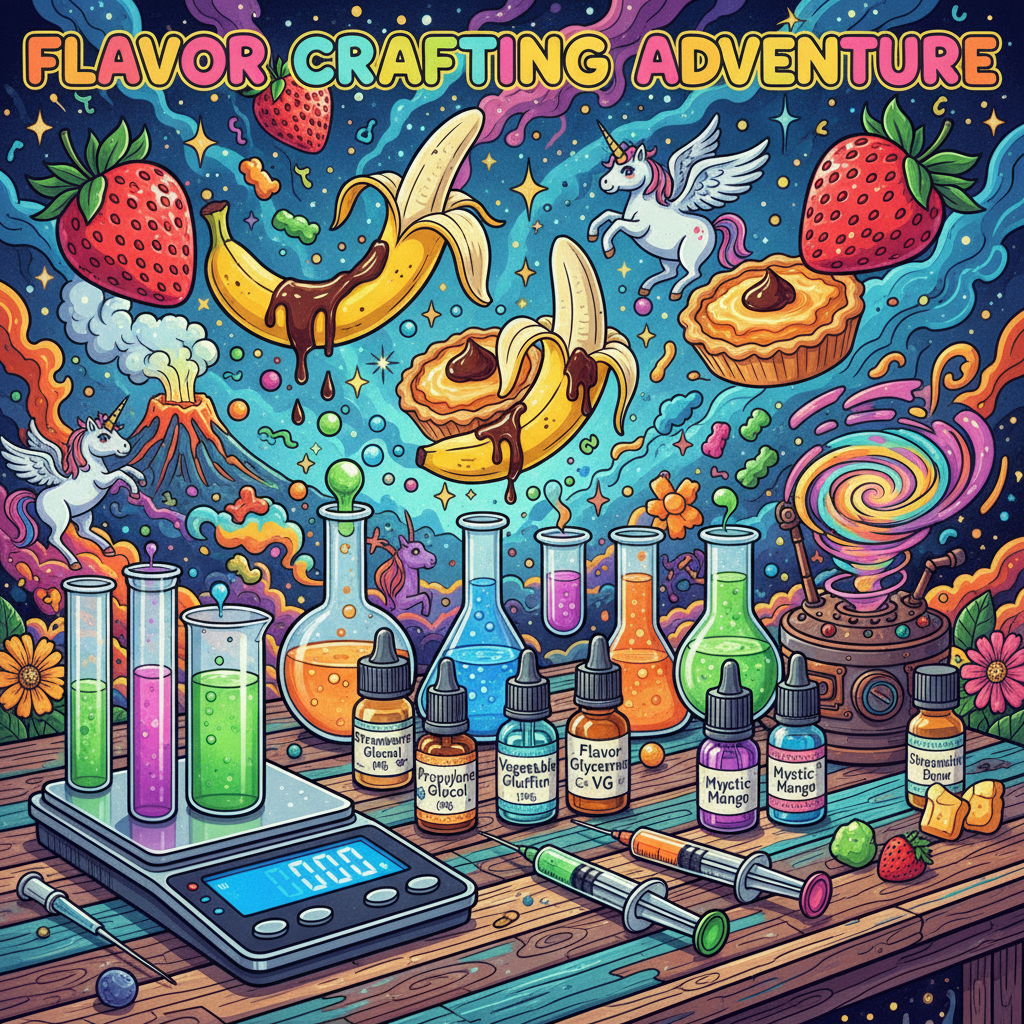
Starter Recipes to Spark Your Creativity
Here are three simple recipes to get you started, covering different flavor profiles. Percentages are for the total volume.
Recipe 1: Classic Fruity (Shake and Vape)
- Strawberry (Ripe): 6%
- Kiwi: 4%
This simple, bright, and sweet combination is a great first recipe as it doesn’t require a long steep time.
Recipe 2: Creamy Dessert (Requires Steeping: 2 weeks)
- Vanilla Custard: 5%
- Caramel (Original): 2%
- Graham Cracker: 1%
A classic dessert vape. The flavors will be muted at first but will transform into a rich and creamy custard after steeping.
Recipe 3: The “Bizarre” Starter
- Banana Cream: 5%
- Dark Chocolate: 2%
- Coconut: 1%
This recipe mimics the profile of some famously named novelty e-juices. It’s a great introduction to creating more complex and unconventional tastes. If you’re interested in exploring the world of strange and shocking e-liquids, our Shit Vape Flavor Guide dives deep into this fascinating niche.
Final Thoughts: Your Flavor Journey Begins
Making your own DIY vape flavors is an empowering and creative process. It allows you to tailor your vaping experience to your exact preferences while saving a significant amount of money. Always prioritize safety, start with simple recipes, and don’t be afraid to experiment. Your perfect all-day-vape might just be a few drops away.